Hello and welcome back to another Waves Of Expression Blog! Can you believe it’s the end of June? Man oh man this summer has been flying by, and I’m so glad to see you here again! My name is Megan, and this week I’m going to share a fun way to bring new dimension to your watercolor art by using negative space left from washi tape!
Now, you might be thinking, “Negative space? I haven’t heard that since I was in school!” Don’t fret! It’s not a hugely complicated tool in art, but it can help you create some great effects.
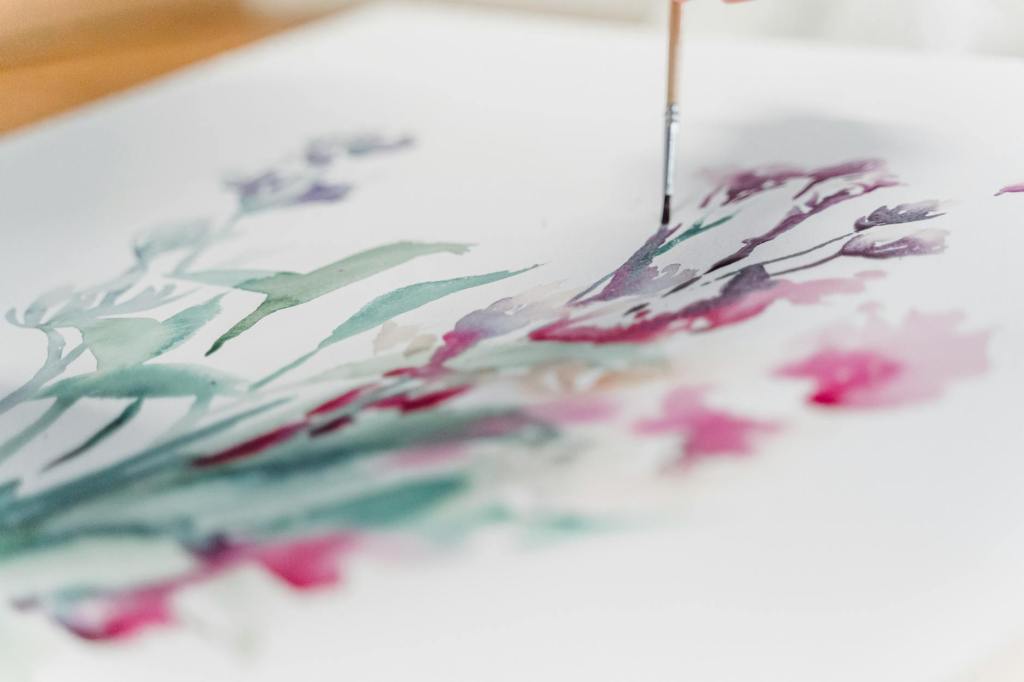
Every art piece has two kinds of space; positive and negative. Positive space is what the image is made of, in this case, the stalactites and foreground crystals. Negative space is what is surrounding the subject matter– like the background, in my painting the negative space is the white lines I created using washi tape to prevent the watercolor from escaping! You may remember from my previous blogs I use blue painters tape to keep crisp edges on my paintings. Another option is Washi Tape, it’s much thinner and great for fine lines within a piece, pictured below.
For the background I used a lovely cocoa brown color that builds up very well. This helped me create depth in the “cave”. 
For the crystals I couldn’t help but use the Hidden Gems collection! When the second half of the collection arrives I will write a full review of the release! (Spoilers, it’s my favorite from Waves Of Expression so far) Without covering too much of future writings, the sheen these colorways hold is incredible, the pigment is amazing and the metallics are almost a buttery texture, so, a little goes a LONG way!
I forgot to take a photo of the next part, but I felt the piece needed a few more crystals. I used more Washi Tape to outline smaller foreground gems to create layers. I went ahead and painted over what was already in the blocked out area which ended up being a great idea! Remember, trust the process– it may not look like what you had in mind, but you can create something better than you imagined!
I love how the smaller crystals in the front have a small amount of the underpaint showing through almost as if they’re translucent like real crystals and gems.
Another way to make a 3D crystal is to use different shades on different faces. A lighter at the top, maybe a darker one on one side– this is a technique I’m going to explore further and I encourage you to do the same! Push yourself, stretch your creative muscles and don’t be afraid to experiment!

This painting is one of my favorites, the tape made a great border between the crystals and the cave. And of course the liner helped separate the small ones from the background! The shimmer, shine and gleam of these paints is nothing short of amazing!


What did you think of this idea??